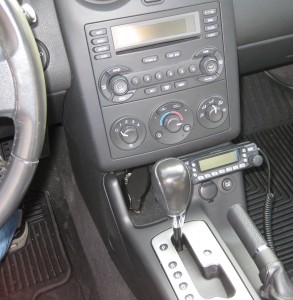
 We bought my wife Stephanie (KC0RBS) a new car a few weeks ago. Her old car was a 2000 Ford Contour, and it had a decent spot on the dash to mount her FT-7800’s remote display. Unfortunately, it initially looked like the new-to-us 2005 Pontiac G6 GT has no such spot. After some discussion, we agreed to mount it on top of the G6 badge above the power port and traction control button. This blog entry will document the installation in case someone else might find it useful.
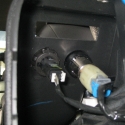
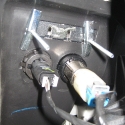
The first step was to figure out a way to attach the display to the console. Not wanting to drill any holes, we considered double-sided tape and velcro. While poking around behind the fuse panel cover we discovered that the G6 badge is removable leaving a nice hole to attach the bracket to and for routing the cable that can easily be replaced when we sell the car. We used a couple of toggle bolts to secure the bracket to the opening.
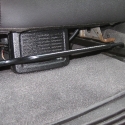
We reused the Yaesu MLS-100 speaker from the Contour. It’s a great sounding speaker that provides plenty of clear audio to hear over the road noise. There was no good place to mount it under the dash so we chose to mount it under the passenger seat facing forward. For now it’s wedged between the floor and seat and secured with some velcro on the bottom of the speaker and it seems to hold well.
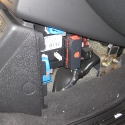
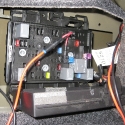
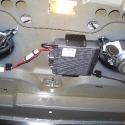
The RF deck of the FT-7800R is mounted under the rear deck of the G6 in the trunk between the rear speakers. The G6 has a fuse block in the trunk. Rather than run power straight to the battery, we used an ATM fuse tap to borrow 10 amps from the car’s stereo amplifier. We figure the music volume will be turned down (or off) when Steph’s on the radio, so the amp won’t be drawing much current. The fuse tap also allows the amp to keep its 30A fuse while the radio only gets 10A. Some day maybe we’ll run 4ga or 8ga wire straight to the battery when we install a subwoofer, but for now this works fine. The transmitted signal is clean and there are no signs of alternator whine or other noise.
The only thing left to figure out now is which antenna to use. We had a big, ugly 5/8 wave 2m mag mount on the Contour but it looks too tacky on the G6. This time we’d like to avoid the scratches a mag mount is bound to make by using either a trunk lip mount or (gasp!) drill a hole and use a proper NMO mount. I’ll update this post with details and pictures when we make a decision.

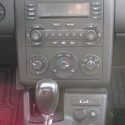
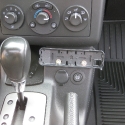
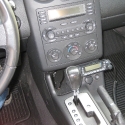
I put my speaker in the square opening right in front of the gear shift. my G6 has the air bag and seat belt light right above the power outlet and Traction control switch
I just recently purchased a 2006 G6. I was wondering how I was going to install my FT-7900R in the trunk . I came across your site and want to thank you big time for posting this. This has helped me out a lot! 73, Sam
I’ve been wondering how to get power to my rig. The fuse tap idea is genius. One question…what does the black power lead connect to? In the picture of the fuse box it looks like it runs behind the carpet.
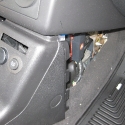
I don’t have the car anymore, but I think the ground wire was terminated with a ring connector which was attached to a metal panel with a self tapping screw and washer. I probably scraped off a little paint to make sure it made good contact.
Thanks for the quick reply, Ron! I had a feeling the black wire just attached to the vehicle body. Great article! I’m definitely going to hook up my 2 meter rig the same way.
73
John
K8YYZ